Building on a previous post where I opened the software for the first time I understood that learning new software takes tenacity, patience and endeavour. I had previously experimented with Cinema 4D without much conviction as I felt that it was a little out of my comfort zone and belonged to the world of animation and computer game design. However if COVID had taught me anything, it is that the digital world is only going play a more pivotal role in everyday life.
The MA has also demanded that I am more ambitious with my practice. The likes of Jenny Odell and her digital projects were an unexpected area of interest. I am also at a stage in my career development where I need to continue to further my technical skills in order to stay engaged with industry developments. Being proficient with photoshop, lightroom and video editing is no longer enough if I am to consider myself an innovative professional.
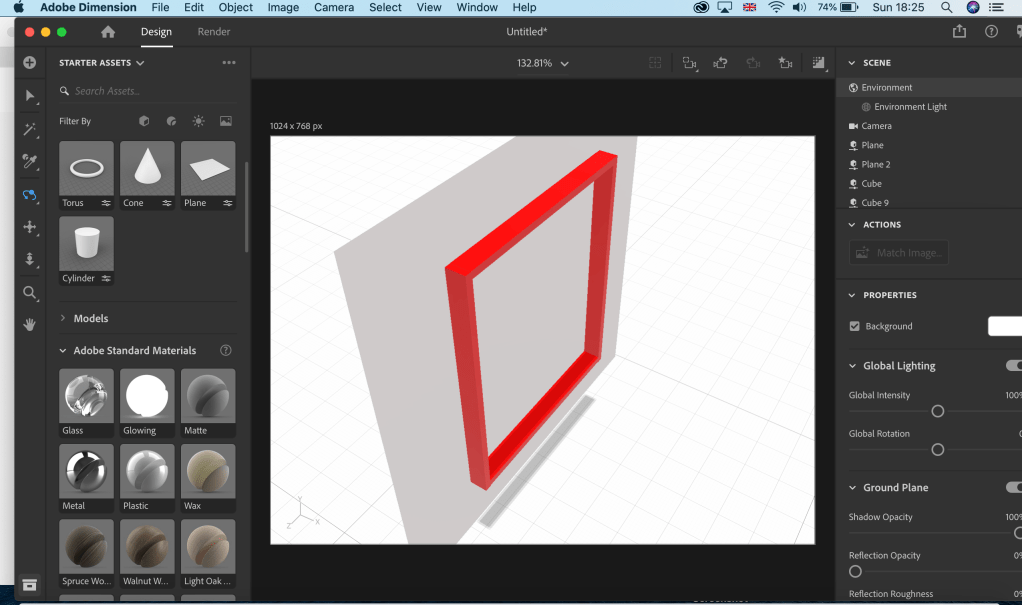
Having been relatively pleased with my first attempt with Adobe Dimension, my broader ambition to produce a digital exhibition needs significant learning if I am to produce something special. Having opened the work space I set about creating a frame. Sounds like a simple task but this was probably the most difficult task as I was still very much learning how to navigate around the workspace. I eventually changed the colour of the frame so that I was able to see clearly what I was working with.
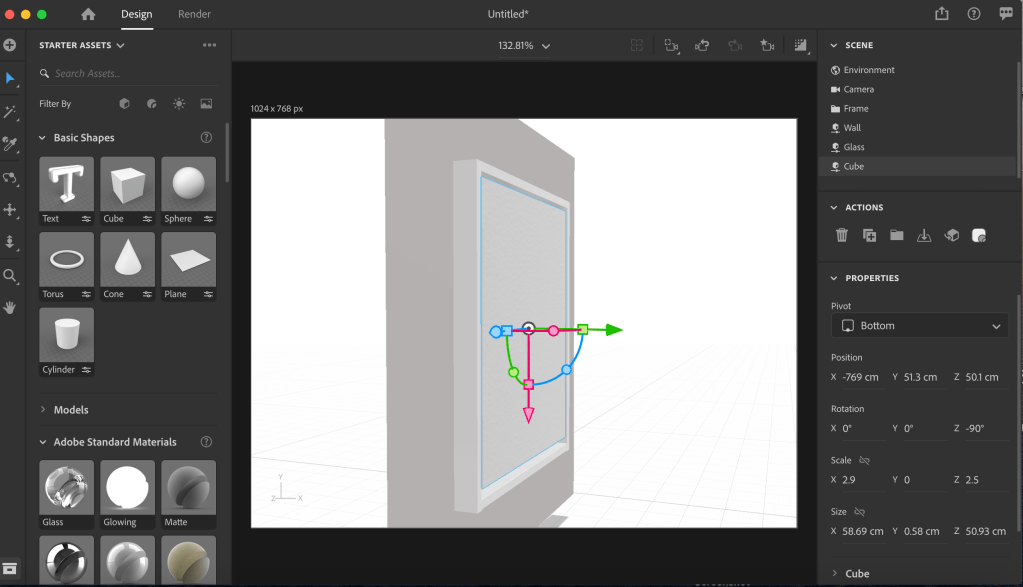
Having spent a considerable amount of time aligning the frame I then added a Matte texture to sit inside the frame. Having done this I then needed to ensure that the inside of the frame aligned with the actual frame itself. Again not an easy task and one that took considerable experimentation. At this stage I was becoming semi confident with the workspace and the process became a little more familiar. Having got to this stage, I then placed a further plane over the frame which would eventually become the glass surface of the frame. On to the what should have been one of the easier tasks, was the placing the object (Photograph) into the frame. According to the tutorial It was a simple task. This wasn’t the case and the finding the solution took well over an hour with the solution being the requirement to convert the asset to a ‘standard model’.
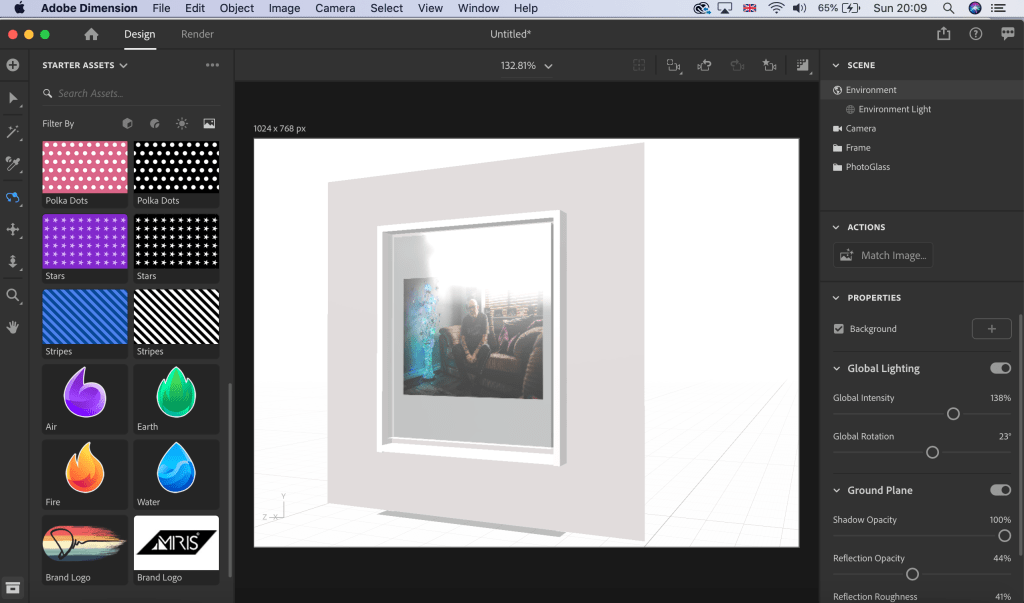
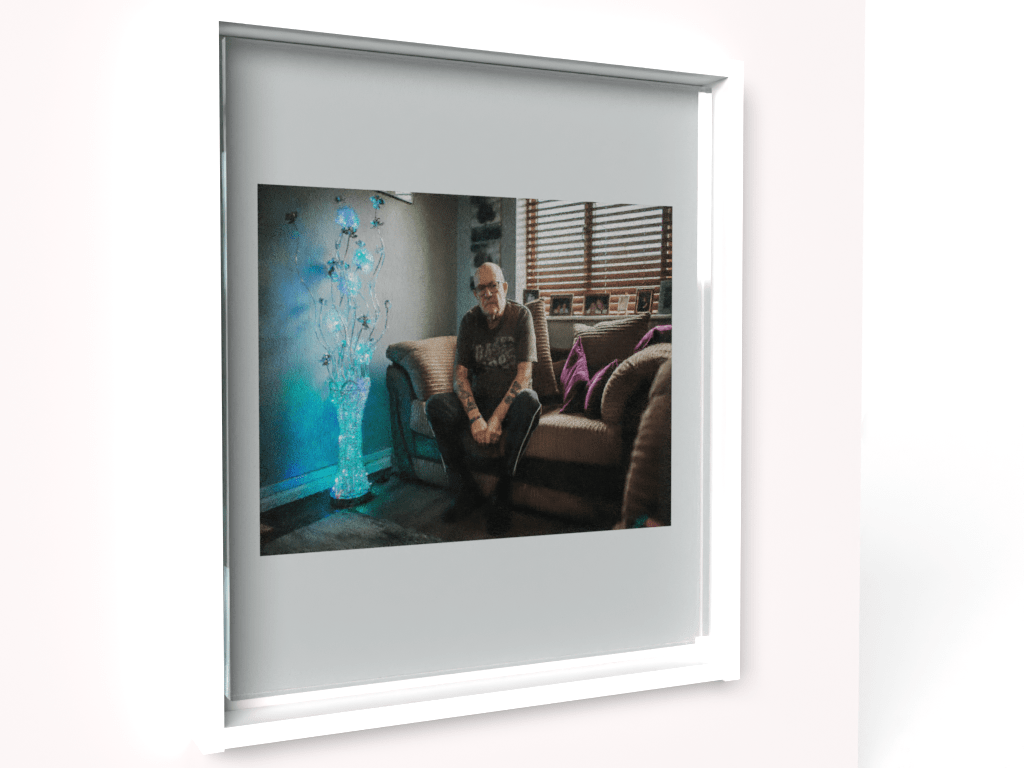
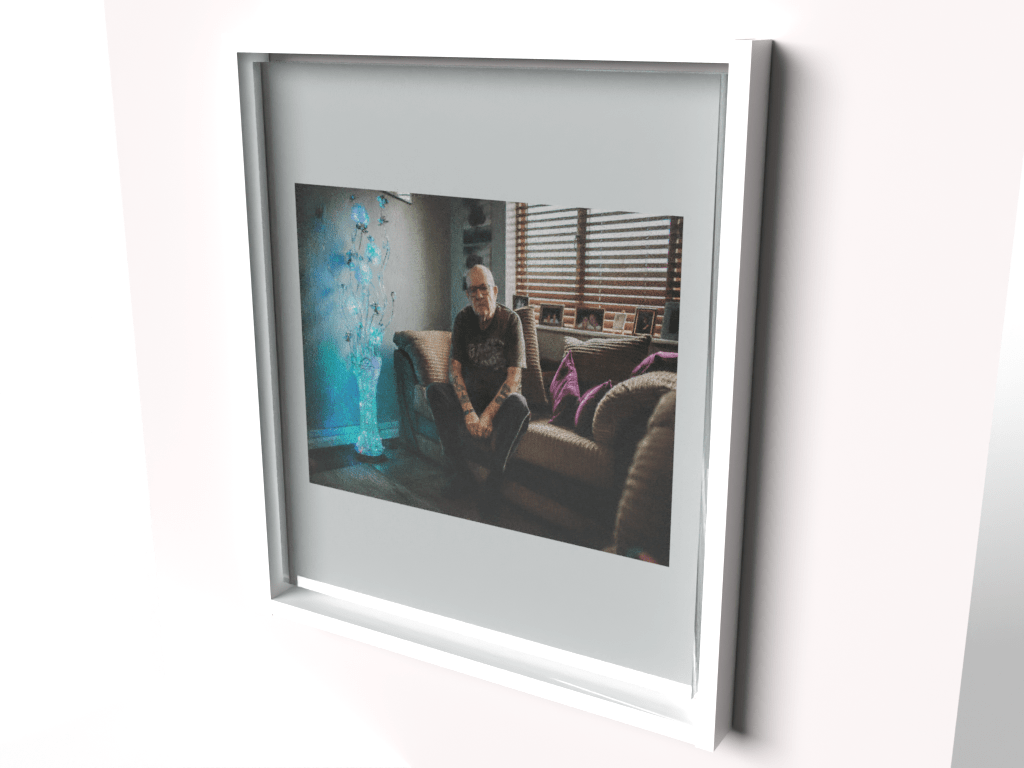
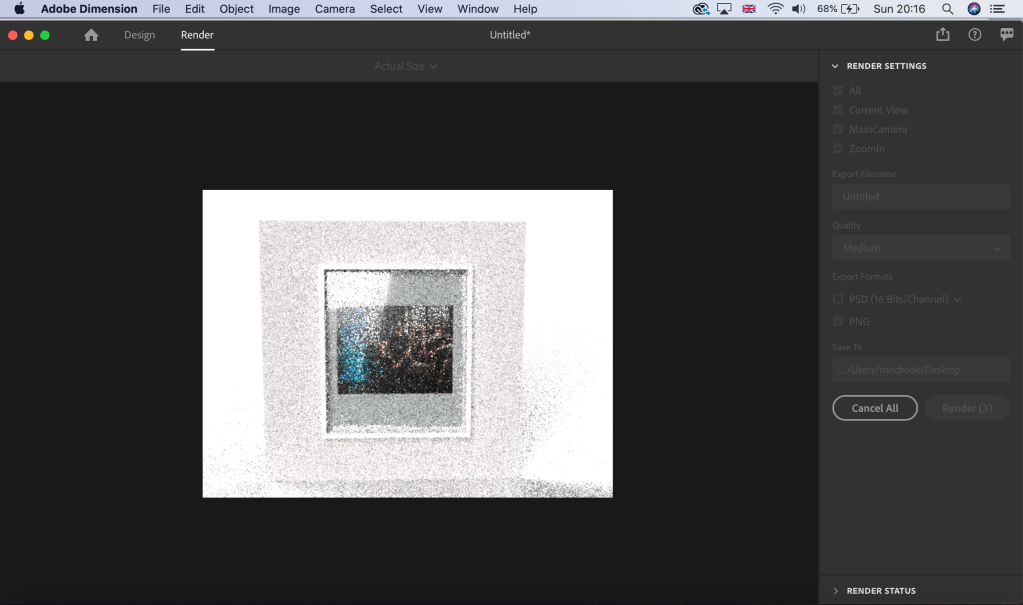
At this point I had a basic model which looked like a photo frame with a photograph inside. I then experimented with lighting environments and I did a number of these which is where the glass texture added an element of realism. Then onto rendering the frame to convert into a PNG image to be further placed into a programme such as photoshop. The process rendering the finished asset took some time and I don’t think my Macbook appreciated having to use all of its power.
Going forward I will need to continue to experiment and having made a frame I will need to consider a possible environment to place a series of frames. Ultimately my thoughts are to create a gallery and possibly animate a tour although this may be ambitious.
Below is a gallery of the completed asset from a number of different perspectives. Although I have discussed my intention to create a gallery, the next stage of this development is to place a trio of images together in a room. At present this appears an achievable ambition however I also understand that in using the technology whilst learning seemingly simple tasks can take a considerable amount of time.